FOOT PAIN · PILLAR GUIDE · LOGANSPORT, IN
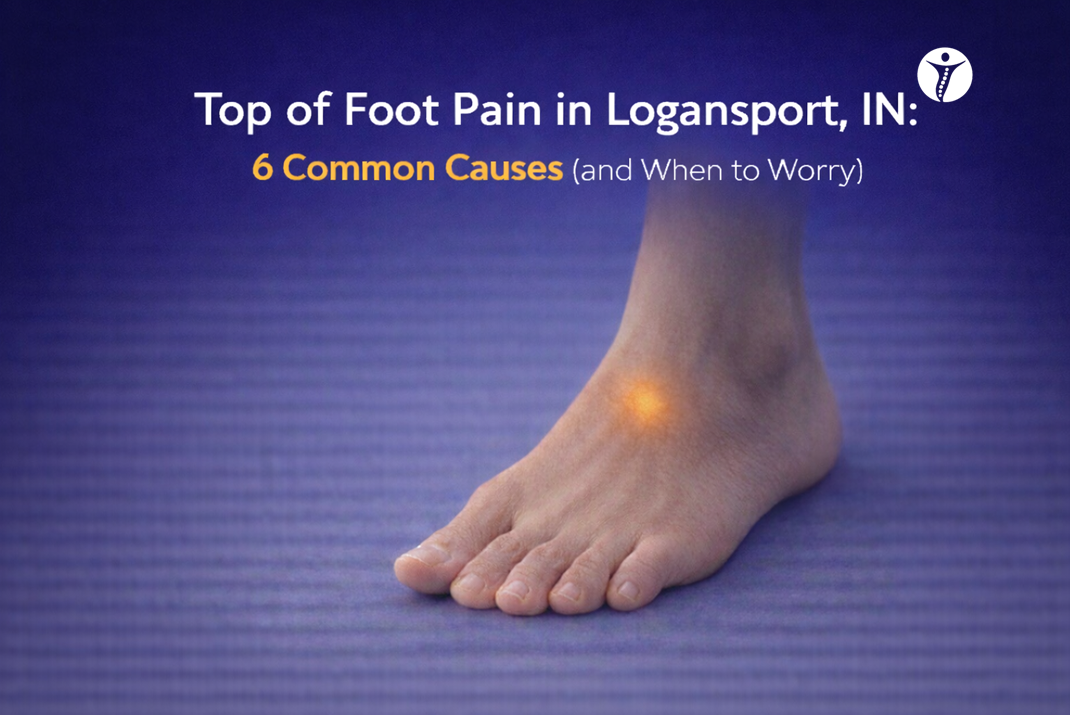
Top of Foot Pain in Logansport, IN: 6 Common Causes (and When to Worry)
Top-of-foot pain often follows a pattern. Use the clues below to choose the right first step.

Top-of-foot pain (dorsal foot pain) is usually mechanical — but the best first step depends on what’s driving it. If pain keeps returning or you’re not sure what’s safe, start with Foot & Ankle Pain Treatment. If shoe support and mechanics seem to matter, see Custom Orthotics.
- Fast “shoe & lace” fixes included below
- Clear causes + what usually helps for each
- “When to worry” red flags included
Educational only. Not medical advice. Seek urgent care for severe/worsening symptoms or red flags.
Start Here: The 4 Clues That Narrow Top-of-Foot Pain Fast
Not a diagnosis — just a smarter way to decide which “bucket” fits best.
Clue #1: What triggers it most?
Shoes/laces (especially pressure on the tongue) points toward compression and extensor irritation. Walking/running volume spikes point toward overload patterns.
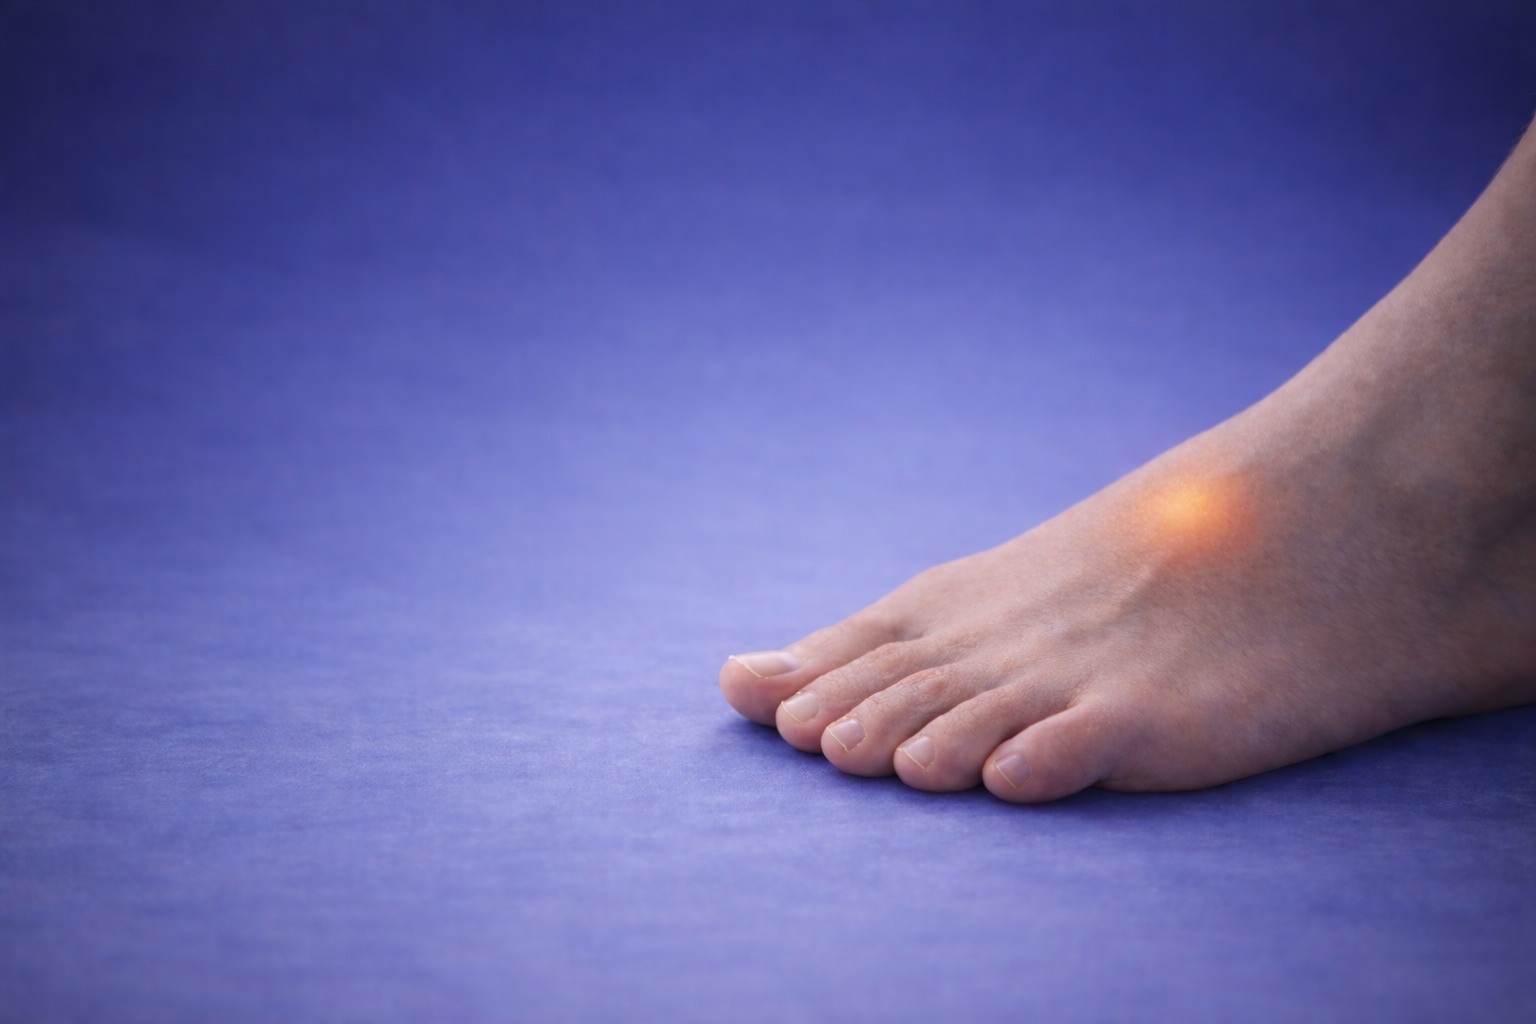
Clue #2: Exactly where is the pain?
Pain near the ankle/top of the foot can behave differently than pain directly over the midfoot bones. A small, very focal “one spot” tenderness over bone deserves more caution.
Clue #3: Any swelling or bruising after a twist/fall?
If yes — think sprain, midfoot injury, or fracture risk. If you can’t bear weight, skip to Red Flags.
Clue #4: Any burning, tingling, or numbness?
That can suggest nerve irritation/compression. If symptoms travel or feel “nerve-y,” it’s worth being evaluated. If you also have broader nerve symptoms, see Numbness & Tingling Treatment.
2-minute quick win: shoe & lacing fixes (worth trying first)
If pain is worse in shoes or you notice lace pressure, try these before you do anything fancy:
- Loosen the top 2 eyelets and avoid cranking the tongue down.
- Skip the eyelet directly over the painful spot (“window lacing”).
- Switch shoes for 7–10 days (roomier toe box, softer tongue, less stiff upper).
- Don’t lace for “lockdown” if it compresses the top of the foot.
If you keep needing lace fixes, it often means the foot is overloaded or the shoe/support setup isn’t matching your mechanics. That’s where Custom Orthotics may help.
6 Common Causes of Top-of-Foot Pain (and What Usually Helps)
Each cause has a slightly different first step. Don’t force the wrong plan.
1) Extensor tendon irritation (often “extensor tendonitis”)
Feels like: pain on the top of the foot that worsens with walking/running or lifting the toes upward.
- Common triggers: volume spikes, hills, new shoes, tight laces
- What helps: lace/shoe changes + reduce volume 7–10 days + graded strengthening
- Avoid: “pushing through” sharp pain
2) Lace pressure / shoe-tongue compression (a very common simple one)
Feels like: tenderness directly under the laces, often worse in tighter shoes and better barefoot.
- Common triggers: stiff uppers, tight lacing, high arches with low-volume shoes
- What helps: window lacing + roomier shoe + reduce compression
- If it keeps coming back: consider support strategy (orthotics) or gait/load plan
3) Midfoot joint irritation (top-of-foot “midfoot ache”)
Feels like: deeper ache over the midfoot that’s worse with longer standing/walking and sometimes stiff in the morning.
- Common triggers: long days on feet, hard floors, sudden activity increases
- What helps: load reduction + supportive footwear + gradual tolerance build
- Helpful next step: evaluation of foot mechanics and support
4) Stress reaction / stress fracture concern (less common, higher importance)
Feels like: a focal “one spot” pain over bone that worsens with weight-bearing and may persist at rest.
- Common triggers: new running/walking volume, harder surfaces, low recovery
- What helps: stop the provoking load; get evaluated if suspicion is high
- Do not ignore: worsening daily pain, swelling, or inability to bear weight
5) Ankle/foot sprain patterns (including midfoot sprain)
Feels like: pain after a twist/roll, often with swelling/bruising, sometimes pain on top of the foot near the ankle.
- Common triggers: inversion/eversion injury, uneven ground
- What helps: protect early, then progressive mobility/strength; don’t “babysit” it too long
- Read next: Ankle Sprain Recovery Timeline
6) Nerve irritation or compression (burning/tingling pattern)
Feels like: burning, tingling, numbness, or “electric” sensations—sometimes worse with certain shoes.
- Common triggers: tight footwear, swelling, nerve sensitivity
- What helps: reduce compression + calm the flare + address upstream drivers
- Consider evaluation: especially if symptoms spread or include weakness
What Helps Most (A Simple 3-Step Plan Ladder)
This is the safest way to calm symptoms while you identify the driver.
Step 1: Calm the flare (first 48–72 hours)
- Do the shoe & lace quick wins above
- Reduce the activity that reliably spikes pain (often long walking, running, hills)
- Keep pain-safe motion (don’t fully immobilize unless advised)
Step 2: Rebuild tolerance (days 4–14)
- Gradually reintroduce walking minutes (small increases)
- Add light strengthening in pain-safe ranges
- If support helps, consider a footwear/orthotic strategy (Custom Orthotics)
Step 3: If it’s not improving
- If pain is focal over bone, worsening daily, or you can’t bear weight → get evaluated
- If symptoms keep returning → check gait, footwear, and load plan
- Start here: Foot & Ankle Pain Treatment
Flare-day swap (if you wake up worse)
- Cut walking time in half (or switch to bike/pool)
- Return to pain-safe ranges only
- Resume progress once the next-day rule is stable
When to Worry (Red Flags)
Get checked promptly if any of these are true.
- Unable to bear weight or you’re limping significantly
- Significant swelling/bruising after a twist, fall, or impact
- Pain that is worsening day-to-day despite reducing activity
- Very focal bony tenderness (one spot) with weight-bearing pain
- Hot/red foot with fever or systemic symptoms
- Numbness/weakness or rapidly spreading “nerve” symptoms
If you’re unsure, start with Contact & Location and we’ll guide you.
Top-of-Foot Pain FAQs
Quick answers—including “when to worry.”