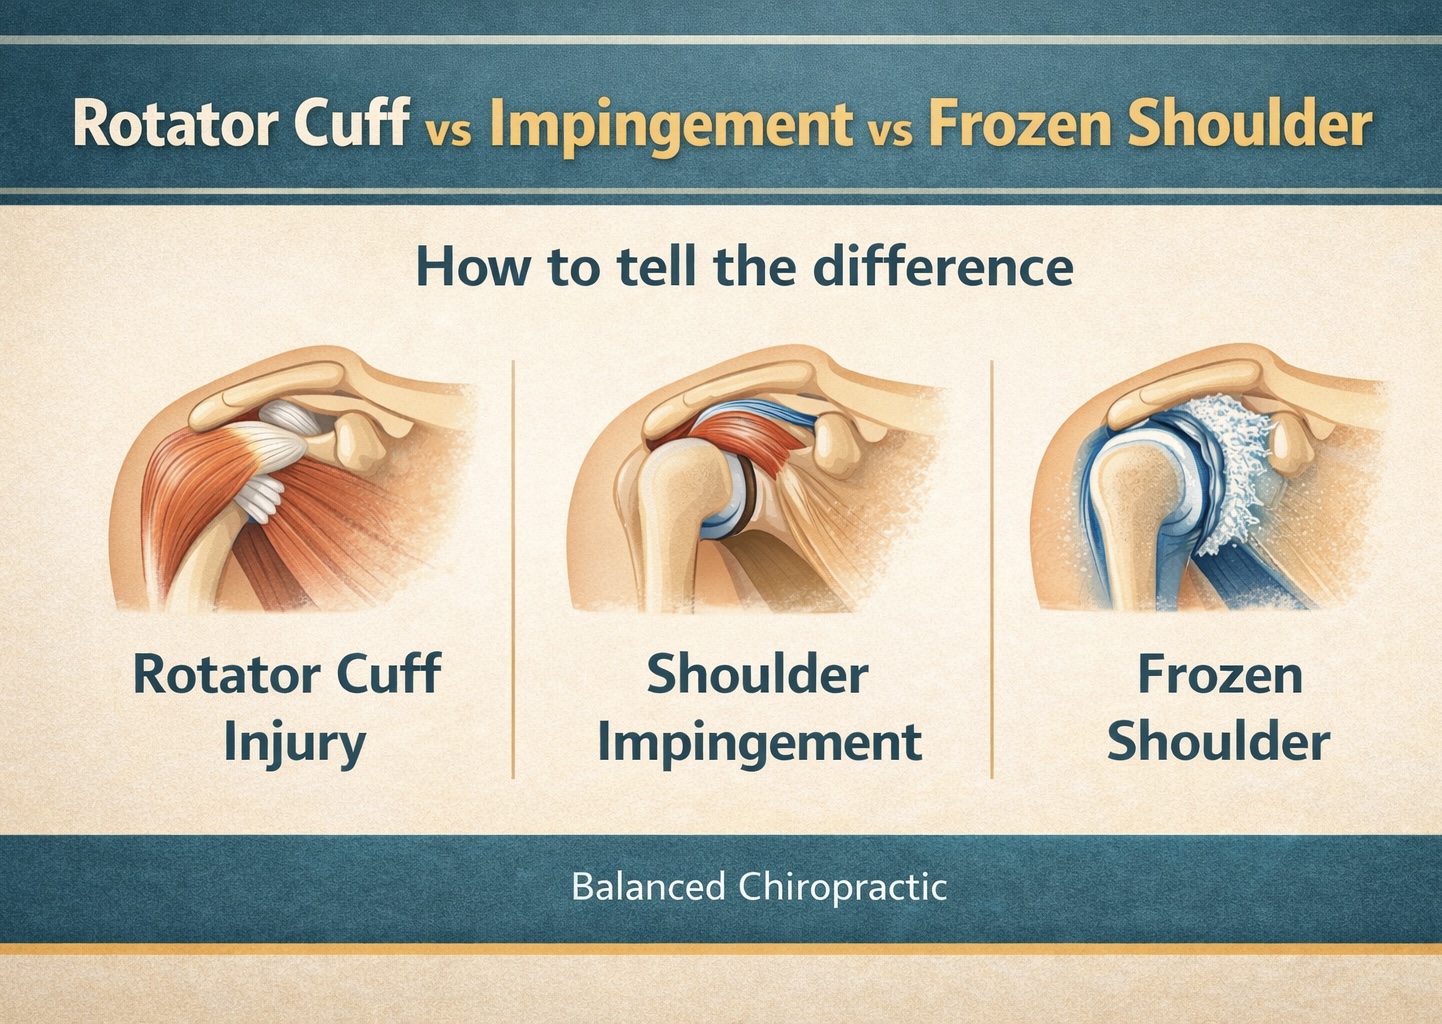
CUSTOM ORTHOTICS · DECISION GUIDE · LOGANSPORT, IN
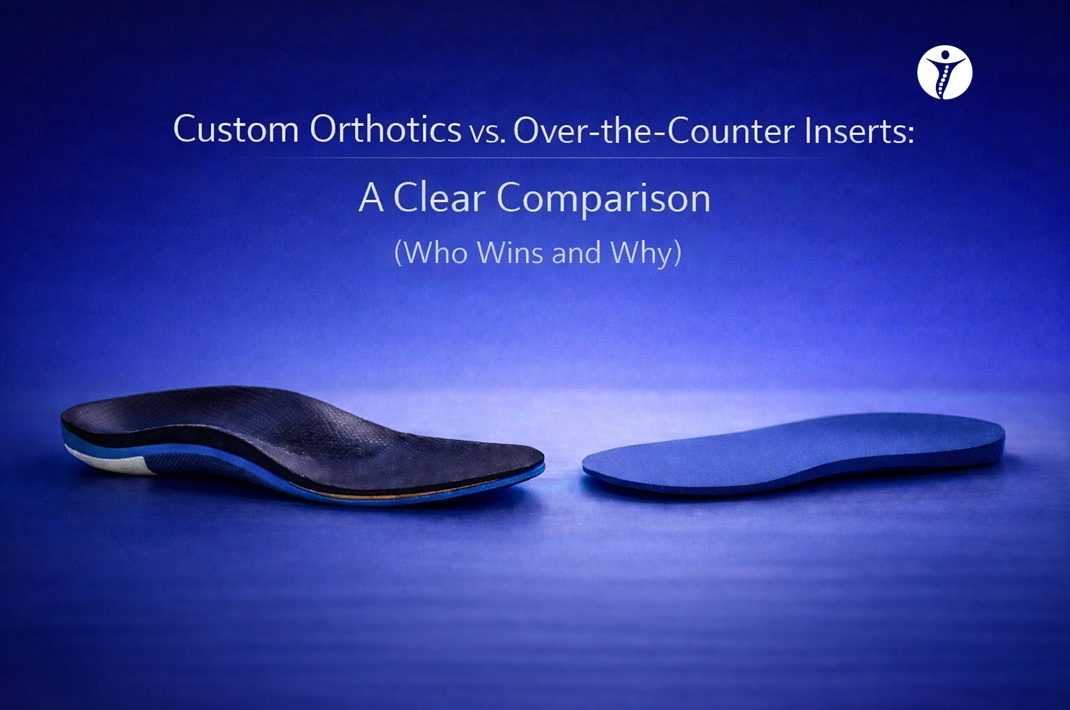
Custom Orthotics vs. Over-the-Counter Inserts: A Clear Comparison (Who Wins and Why)
Both can help — but they solve different problems. Match the insert to the job (and the shoe).
If you’re deciding between a $30 insert and custom orthotics, you’re asking the right question: “What actually fits my problem?” For the service overview, start with Custom Orthotics. If your main issue is foot or heel pain, also see Foot & Ankle Pain and Plantar Fasciitis Treatment.
- Quick answer + comparison table + decision rules
- Break-in expectations (what’s normal vs not)
- Clear “when to worry” guidance
Educational only. Not medical advice. Seek urgent care for severe/worsening symptoms or red flags.
Quick Answer (If You Only Read One Section)
OTC inserts are usually enough when you need comfort and mild support and symptoms improve quickly. Custom orthotics are usually worth it when symptoms are recurring, you’ve already tried OTC more than once, or your workload (work/sport) keeps re-triggering the same pattern.
Rule of thumb (simple and honest)
If you’ve tried a reasonable OTC insert and better shoes and you still flare repeatedly (or can’t build tolerance), custom orthotics become the higher-value step because they’re built around your mechanics + your shoe + your goals.
Comparison Table (Fast, Skimmable)
Not everyone needs custom. Not every OTC insert is a good match. This table keeps it simple.
| Feature | OTC Inserts | Custom Orthotics |
|---|---|---|
| Goal | Comfort + mild support | Targeted mechanics/load strategy |
| Customization | Limited (generic shapes) | Matched to your foot + gait + symptoms |
| Best for | First-time flare or mild recurring issues | Repeatable flare pattern, stubborn symptoms, higher demands |
| Shoe match | Often the limiting factor | Built with your footwear and use-case in mind |
| Break-in | Usually faster | Usually more structured (progressive) |
| Durability | Variable | Typically higher (depends on use) |
| Risk of “wrong match” | Higher if you guess arch height/stiffness | Lower with exam-guided selection and adjustment |
| Cost/value | Lower upfront | Higher upfront; higher value when it solves recurring pattern |
Important (and rarely said): “Neither wins if the shoe is wrong.”
If your shoe is too narrow, too low-volume for the insert, too flexible, or too worn out, the best orthotic in the world won’t feel right. The insert has to match the shoe.
Who Should Choose Which (Decision Rules)
Use this section to self-sort honestly—then decide what’s worth your time and money.
OTC is usually enough if…
Symptoms are mild, first-time, or improve quickly with better shoes and a reasonable insert.
Green signs: better within 7–14 days, next-day soreness settles, no repeated flare pattern.
Custom is usually worth it if…
You have a repeatable flare pattern (work/sport), or you’ve already tried OTC (more than once) and symptoms keep returning.
Green signs: same hotspot flares, tolerance won’t build, mechanics clearly matter.
Neither “wins” if…
The problem isn’t primarily mechanics/load (or there’s a red-flag pattern).
Examples: significant swelling/bruising, suspected stress fracture, worsening numbness/weakness, systemic symptoms.
What custom orthotics actually do (the honest version)
Orthotics can change how load is distributed and how your foot interacts with the ground and shoe. That can reduce repeated tissue irritation and make walking/running/work more tolerable. They work best when paired with a plan (strength + load progression + shoe strategy).
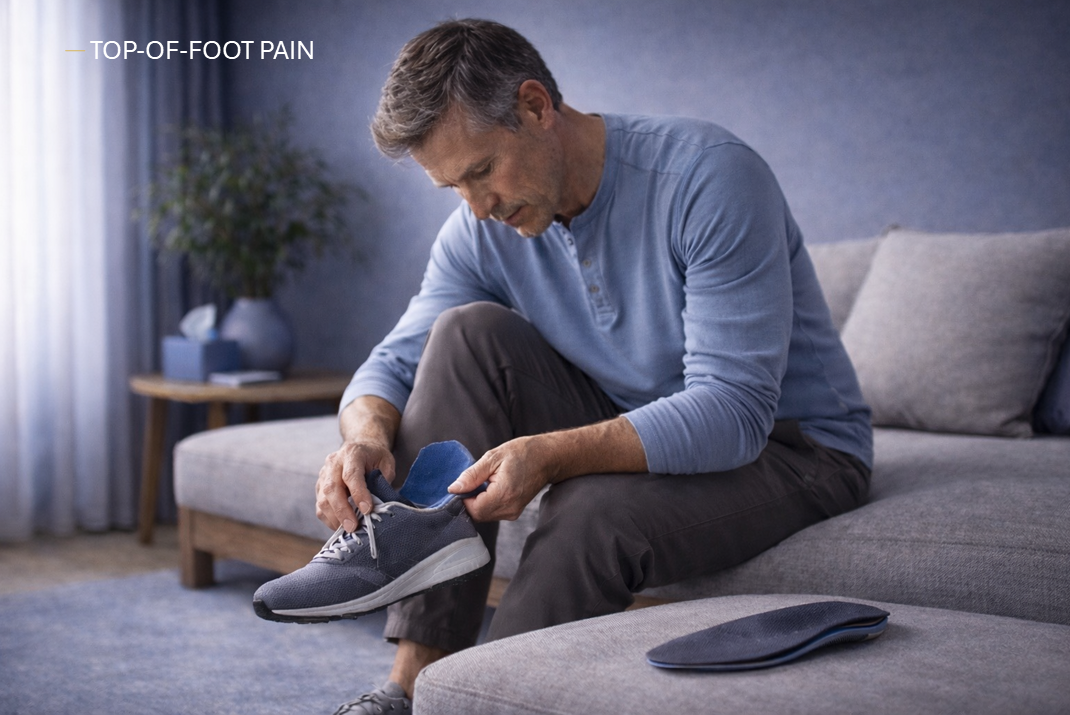
Fit, Comfort, and Break-In (What’s Normal vs Not)
This is the section most people wish they had before buying anything.
Normal early sensations
- Mild “new pressure” under arch or heel
- A short adjustment window as your feet adapt
- Comfort improves as shoe + insert pairing improves
Not normal (scale back and reassess)
- Sharp pain, worsening symptoms, or swelling that increases
- Numbness/tingling that starts or worsens
- New pain in a totally different hotspot that persists
Read next: Orthotics Break-In Schedule: What’s Normal, What’s Not.
Quick shoe checklist (high impact)
- Heel counter: stable (not collapsing)
- Width/volume: enough room for the insert without squeezing
- Midsole: not completely worn out
- Use-case match: work shoe vs running shoe vs casual shoe
What to Do First (Without Guessing)
A simple ladder that avoids wasted money and repeated flare-ups.
Step 1: Fix the shoe fit (today)
- Choose a shoe with enough width and volume for an insert
- Replace worn-out shoes that have “collapsed” support
Step 2: Try a reasonable OTC insert for 7–14 days
- Track next-day response (better/same/mild soreness = okay)
- If symptoms improve and stay improved, you likely don’t need custom
Step 3: If symptoms repeat (or you’ve tried OTC twice)
- Consider an exam-guided plan + custom orthotics matched to your mechanics
- Start here: Custom Orthotics
Common mistakes (quick fixes)
- Buying the “squishiest” insert and expecting it to control mechanics
- Using inserts in the wrong shoe (too narrow/low volume)
- Switching too fast without a break-in period
- Expecting inserts to replace strength + load progression
When to Worry (Red Flags)
Get checked promptly if any of these are true.
- Unable to bear weight or rapidly worsening pain
- Significant swelling/bruising after a twist/fall
- Hot/red joint with fever or systemic symptoms
- Spreading numbness/weakness or severe nerve symptoms
- Pain that is worsening day-to-day despite reducing activity
If you’re unsure, start with Contact & Location and we’ll guide you.
Orthotics vs. Inserts FAQs
Quick answers—including “when to worry.”