SPORTS RECOVERY · PERFORMANCE CARE · LOGANSPORT, IN
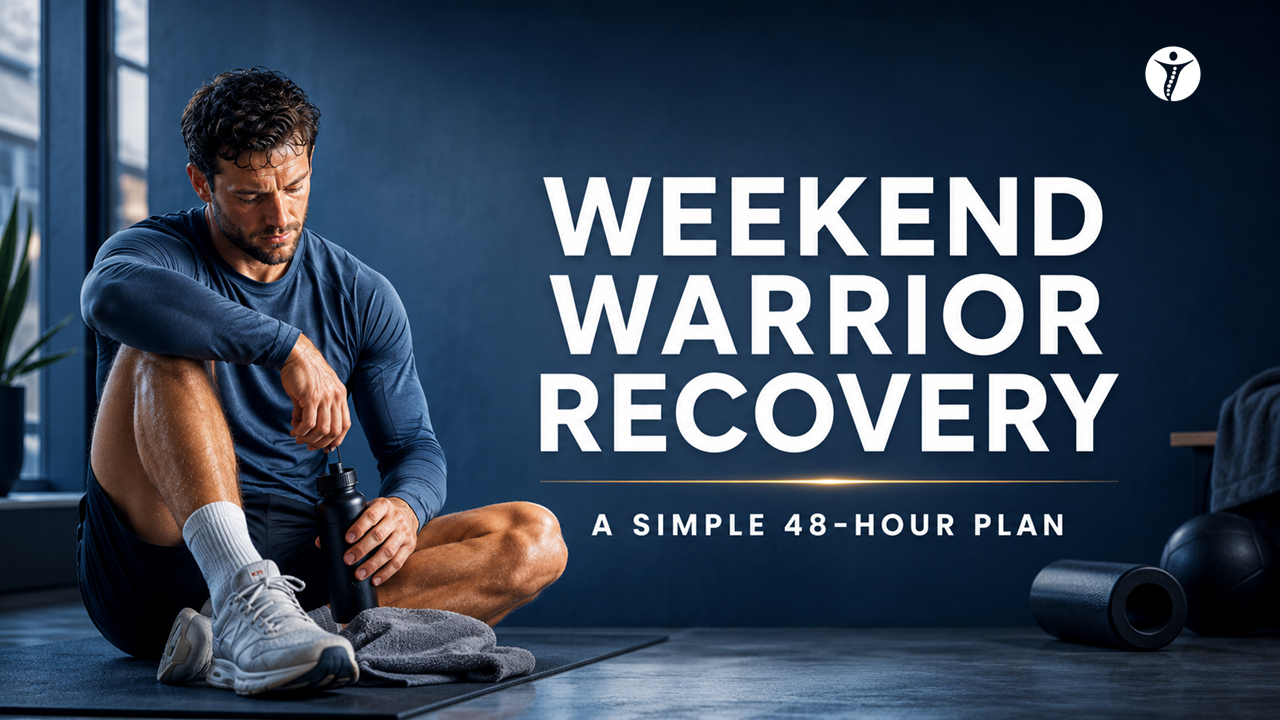
Weekend Warrior Recovery: A Simple 48-Hour Plan After Hard Workouts or Games
Recover faster without overdoing it—48 hours of smart movement beats total rest.

If you go hard on weekends and feel wrecked on Monday, you’re not alone. The goal is to recover faster without turning soreness into an injury loop. For performance-focused care, start with Sports & Athletic Performance. If your soreness is tied to work + lifting demands, see Work & Lifting Injuries.
- Time-blocked recovery plan (0–48 hours)
- Soreness vs injury rules (when to worry)
- Return-to-training guidance that prevents re-injury
Educational only. Not medical advice. If you’re unsure, err on the side of safety.
Quick Answer (What to Do Today, Tomorrow, Day 2)
Today (0–6h): cool down + hydrate + eat a real meal. Tomorrow (24h): low-impact movement (Zone 2) + gentle mobility. Day 2 (48h): light strength return if you can move well and pain isn’t sharp. If you’re limping, swollen, bruised, or worsening day-to-day—treat it like an injury and get checked.
The “next-day rule”
- Same or better next day: good sign.
- Mild soreness: normal.
- Worse next day (especially sharp localized pain): scale back and reassess.
The 48-Hour Weekend Warrior Recovery Plan
Use this like a template. Choose the version you can do consistently without limping or symptom spikes.
0–2 hours (right after)
- 5–10 minute cool down: easy walk or bike
- Hydrate: water + electrolytes if heavy sweating
- Eat: carbs + protein (real food wins)
2–12 hours
- Light mobility: pain-free range only
- Short easy walk: 10–20 minutes
- Avoid: long “couch lock” blocks (stiffness worsens)
12–24 hours (next day)
- Zone 2 cardio: 15–30 minutes (you can talk)
- Gentle tissue work: optional; keep it light
- Rule: no limping; no sharp pain “through it”
24–48 hours (day 2)
- Light strength return: reduce load, shorten range if needed
- Technique focus: smooth reps, no grinding
- Stop early if sharp pain or instability shows up
Pick your track (quick self-sort)
- Mostly sore but functional: do the full plan.
- Sore + stiff + sleep affected: prioritize sleep + light movement + gentle mobility.
- One spot feels sharp/unstable: stop testing it and get evaluated.
Soreness vs Injury: How to Tell
This section prevents the biggest mistake: treating an injury like “normal soreness.”
Normal soreness (DOMS) usually looks like
- Diffuse muscle ache, not one pinpoint spot
- Stiffness that warms up and improves with light movement
- Peak soreness around 24–48 hours, then gradually improves
Injury patterns (get checked sooner)
- Sharp localized pain that changes your movement
- Swelling, bruising, or a “pop” during the event
- Limping or inability to bear weight normally
- Instability (knee giving way, ankle rolling, shoulder slipping)
- Numbness/tingling/weakness that’s new or worsening
If you’re not sure
Start with Contact & Location and we’ll help you choose the safest next step.
Fuel & Hydration (Simple, High-ROI)
Keep it basic. You’re restoring fluid, salt, and energy so recovery can happen.
Hydration
- Drink water through the day (not just at night)
- If you sweated a lot: include electrolytes/salty foods
- Dark urine and headaches often mean you’re behind
Food
- Protein + carbs within a few hours helps recovery
- Don’t under-eat the day after a hard session
- Prioritize real meals over “perfect supplements”
Sleep (The #1 Recovery Tool)
If you do one thing right, do this.
Tonight checklist
- Consistent bedtime (as close as possible)
- Cool, dark room
- Light walk after dinner if stiff
- Avoid late alcohol (often worsens sleep quality)
Common Recovery Mistakes (That Keep You Sore Longer)
These are the traps that turn a fun weekend into a rough week.
- Total rest for 48 hours (often increases stiffness)
- Testing heavy lifts the next day “to see if it’s okay”
- Aggressive stretching into sharp pain
- Ignoring sleep while focusing on minor recovery tools
- Alcohol + poor sleep after a hard session
Return-to-Training Rules (So You Don’t Re-Injure Yourself)
A simple checklist to decide what’s safe at 48 hours.
Green lights
- No limping and normal basic movement
- Soreness is diffuse and warms up
- Next-day response is same or better
Red lights (don’t push through)
- Sharp localized pain or instability
- Swelling/bruising
- Worsening day-to-day pain
Simple rule
Don’t increase volume and intensity at the same time when returning. Ramp one variable at a time.
When to Worry (Get Checked)
These signs suggest injury rather than normal soreness.
- Significant swelling/bruising or a “pop” during the event
- Inability to bear weight or limping
- Joint instability (giving way, slipping)
- Numbness/tingling/weakness that’s new or worsening
- Fever or feeling unwell with pain
- Pain that is worsening day-to-day despite rest
If you’re unsure, start with Contact & Location and we’ll guide you.
Weekend Warrior Recovery FAQs
Quick answers—including “is it soreness or injury?”