YOUTH SPORTS · INJURY CHECK · LOGANSPORT, IN
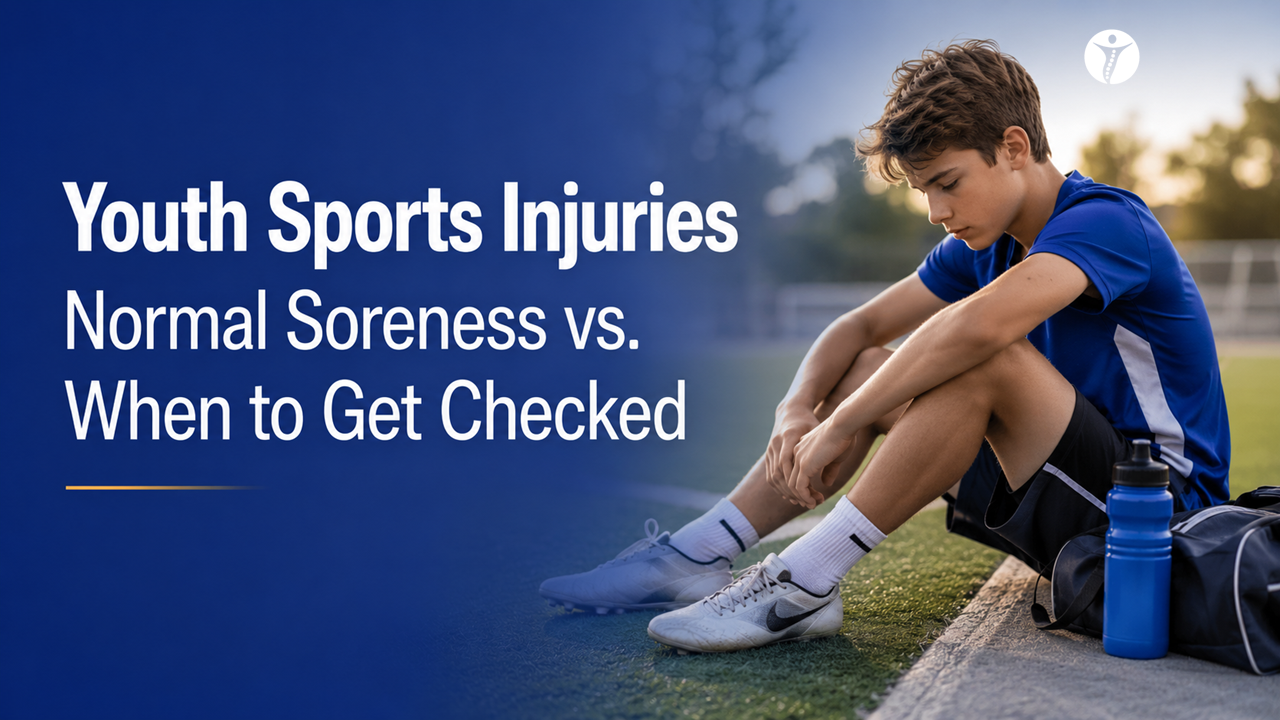
Youth Sports Injuries: When Soreness Is Normal vs. When to Get Checked
Kids get sore. But certain patterns shouldn’t be ignored—use this quick sorter to choose the safest next step.
Youth athletes can get sore from practices, tournaments, and growth-related training changes. This guide helps you decide what’s normal and what needs a closer look. If you want kid-focused care, start with Pediatric Chiropractic. For sports performance care, see Sports & Athletic Performance.
- Comparison table + 60-second self-check
- At-home first steps + return-to-play rules
- Clear “when to worry” red flags
Educational only. Not medical advice. If you’re unsure, err on the side of safety.
Quick Answer (What’s Normal vs Not)
Normal soreness is usually diffuse, improves with warm-up, and gets better over 24–72 hours. Concerning pain is often pinpoint, causes limping or loss of function, comes with swelling/bruising, or worsens day-to-day. Head symptoms, fever, or severe pain/deformity deserve urgent evaluation.

Fast parent rule
If it changes how they walk, run, or use the limb, get it checked. “Playing through it” often makes injuries linger.
Comparison Table (Soreness vs Injury)
Use this table to decide: normal soreness, monitor, or get checked.
| Clue | Normal training soreness | Monitor 24–48h | Get checked |
|---|---|---|---|
| Location | Diffuse muscle ache | Mostly diffuse but one spot is “hotter” | Pinpoint bone/joint pain |
| Timing | Peaks 24–48h then improves | Improves slowly but still present | Worsening day-to-day or pain at rest/night |
| Warm-up effect | Feels better once moving | Mixed | Worse with play; changes mechanics |
| Swelling/bruising | None | Minimal | Significant swelling/bruising/deformity |
| Limping/function | No limping | Minor guardedness | Limping, refusal to bear weight, loss of function |
| Return-to-play | Easy practice okay | Modify + reassess next day | Hold play until evaluated |
60-Second Self-Check (Decision Rules)
These questions help you choose “monitor” vs “get checked.”
If yes → get checked.
If yes → consider evaluation.
If yes → get checked promptly.
If yes → get checked.
If yes → consider evaluation.
If yes → evaluation is appropriate.
Interpretation
Diffuse soreness + improves with warm-up is common. Changes in gait/function, swelling, pinpoint pain, or worsening symptoms deserve a check.
What Normal Soreness Usually Looks Like
Reassuring signs that often improve with smart recovery.
- Diffuse muscle ache (not one pinpoint spot)
- Feels stiff at first but improves with warm-up
- Peaks around 24–48 hours, then improves
- No limping; normal walking is fine
What helps most
- Sleep + normal meals + hydration
- Light movement (walking/bike) instead of total rest
- Avoid repeatedly “testing” painful movements
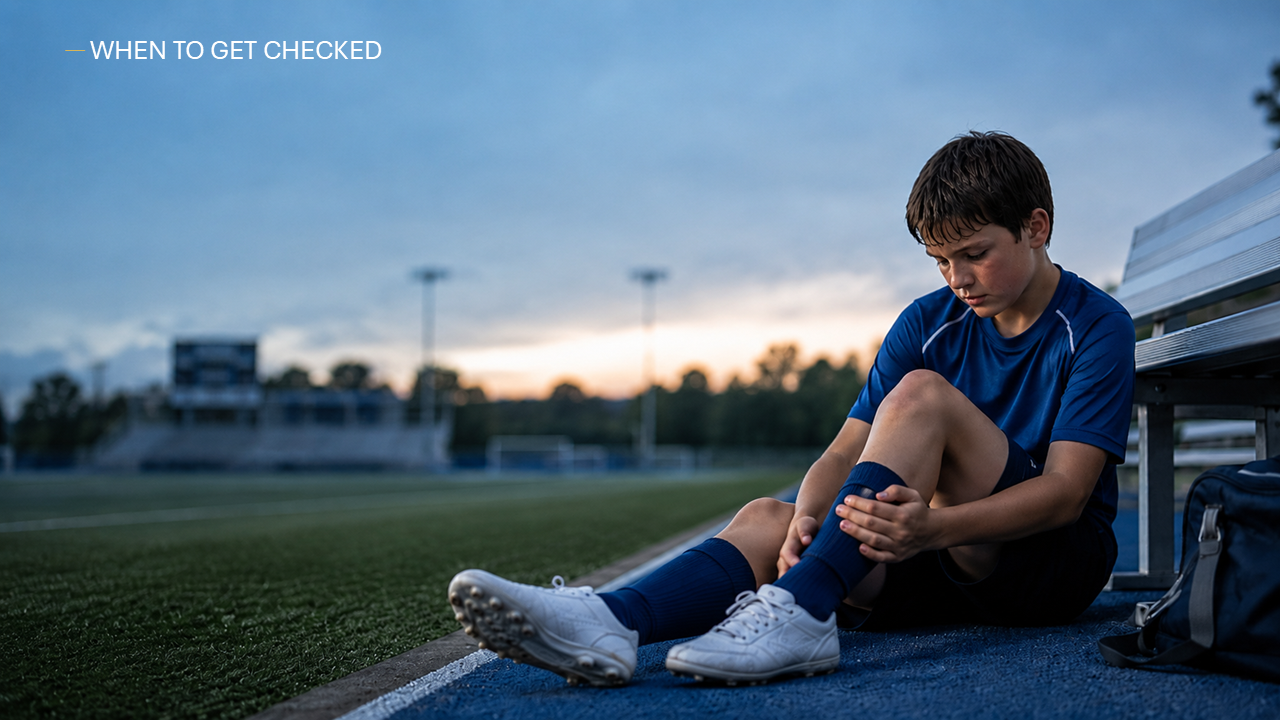
Concerning Signs (When to Get Checked)
These patterns are more consistent with injury than normal soreness.
- Limping or refusal to bear weight
- Significant swelling/bruising or deformity
- Pinpoint bone pain (possible stress injury)
- Pain at rest/night or pain that wakes them up
- Joint instability (giving way, slipping)
- Numbness/tingling/weakness
Quick note for parents
If the athlete can’t move normally, it’s not the time to “push through.” Early checks often shorten recovery time.
What to Do First (At Home)
A simple 48-hour plan for the “monitor” category.
First 24 hours
- Reduce or stop the activity that reproduces sharp pain
- Gentle, pain-free movement (don’t lock them on the couch)
- Prioritize sleep and hydration
Next 24 hours
- Reassess walking and basic movement
- If better: return with modifications
- If same/worse: consider evaluation
What not to do
- Don’t repeatedly “test” the painful movement every few hours
- Don’t push through limping or sharp pain
- Don’t ignore swelling/bruising
Return-to-Play Rules (Simple Checklist)
Use this to avoid the “back too soon → flare again” loop.
- Normal walking is pain-free
- Basic range of motion is back (pain-safe)
- Basic strength/balance is tolerated
- Sport-specific drills are tolerated
- No next-day spike after practice
Best rule
Don’t increase volume and intensity in the same week when returning.
When to Worry (Urgent Red Flags)
Seek urgent evaluation if any of these are present.
- Suspected concussion signs: confusion, worsening headache, repeated vomiting, balance issues, unusual behavior
- Severe pain/deformity or suspected fracture/dislocation
- Unable to bear weight or rapidly worsening swelling
- Fever with a hot/red swollen joint
- New numbness/weakness
If you’re unsure, start with Contact & Location and we’ll help guide the safest next step.
Youth Sports Soreness vs Injury FAQs
Quick answers for parents and coaches.